Dirga Raj Lama
Web Developer
Custom Post Types in WordPress: Complete Guide
WordPress is powerful out of the box, but what if you need to manage portfolios, reviews, events, or team members separately from standard posts and pages? That is exactly where WordPress custom post types come into play. In this complete guide, I will walk you through everything you need to know about creating and managing WordPress custom post types—from basic concepts to advanced code examples. By the end, you will be able to extend WordPress into a true content management framework.
What Are Custom Post Types?
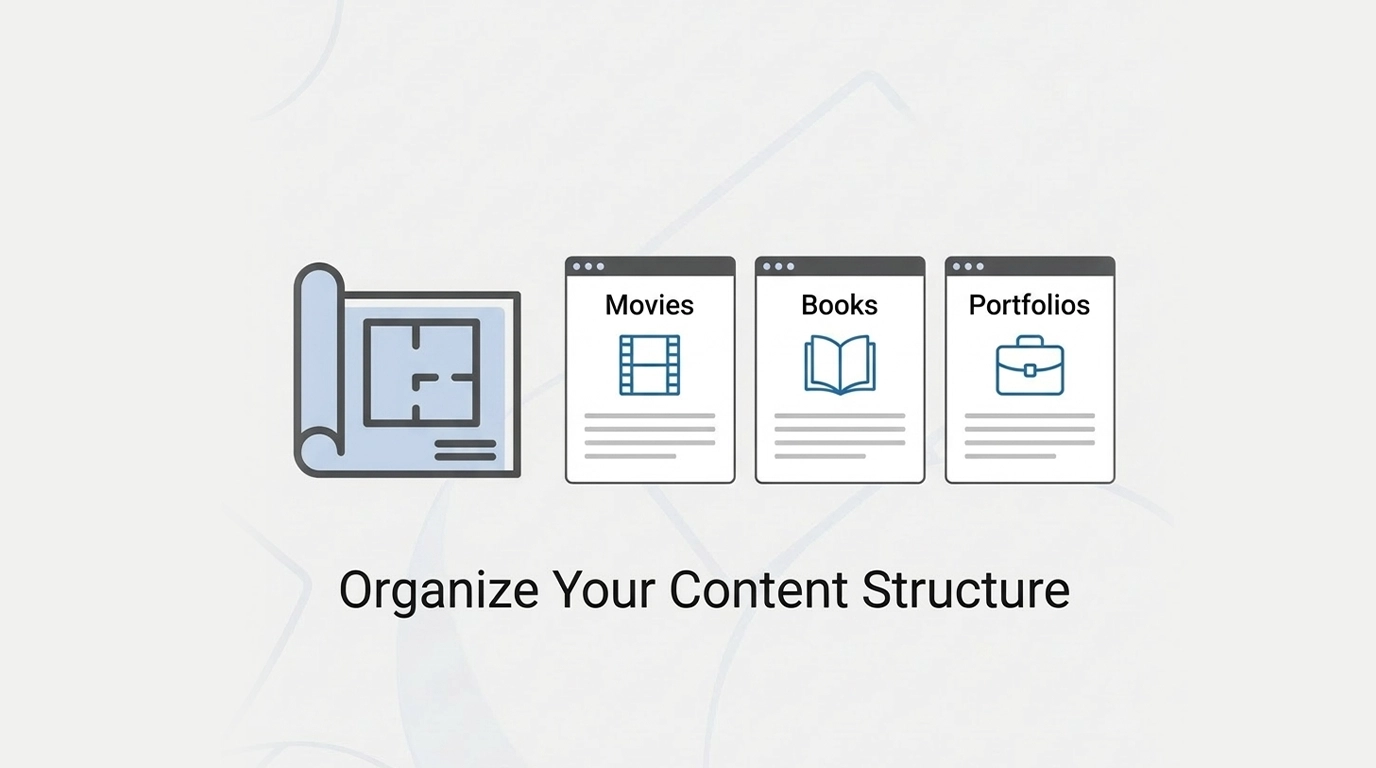
By default, WordPress comes with five built-in post types: Post, Page, Attachment, Revision, and Navigation Menu. However, a blog post and a product listing have completely different fields, layouts, and purposes. WordPress custom post types allow you to create new content types tailored to your specific needs.
For example, if you run a movie review site, you can create a “Movies” custom post type with custom fields for director, release date, and rating. If you own a real estate agency, you can create a “Properties” type with fields for price, bedrooms, and location. The possibilities are endless.
Why Use Custom Post Types Instead of Hacks?
Many beginners try to force everything into standard posts using categories or tags. That approach fails for three reasons:
- Cluttered admin area – Mixing recipes with news updates confuses content editors.
- Limited fields – Posts and pages lack industry-specific metadata.
- Poor user experience – Visitors expect different layouts for different content types.
Proper WordPress custom post types keep your admin organized, enable custom fields, and allow unique templates for each content type.
Method 1: Creating Custom Post Types with a Plugin (No Code)
If you are not comfortable with PHP, use a free plugin like Custom Post Type UI or Pods. Here is the quickest workflow:
-
Install and activate “Custom Post Type UI” from the WordPress plugin repository.
-
Go to CPT UI → Add/Edit Post Types.
-
Enter a post type slug (e.g.,
portfolio), plural label (e.g., “Portfolio Items”), and singular label (e.g., “Portfolio Item”). -
Configure supports (title, editor, thumbnail, excerpt, custom fields).
-
Set visibility – show in REST API for block editor support, enable archives, and assign to menu.
-
Click “Save Post Type” and flush permalinks under Settings → Permalinks.
That is it. You now have a fully functional custom post type with its own admin menu, editor, and archive page.
Method 2: Registering Custom Post Types via Code (For Developers)
For complete control, I always register WordPress custom post types inside my theme’s functions.php file or a site-specific plugin. Here is a production-ready example:
function create_portfolio_post_type() {
    $labels = array(
        'name'               => 'Portfolio',
        'singular_name'      => 'Portfolio Item',
        'add_new'            => 'Add New',
        'add_new_item'       => 'Add New Portfolio Item',
        'edit_item'          => 'Edit Portfolio Item',
        'new_item'           => 'New Portfolio Item',
        'view_item'          => 'View Portfolio Item',
        'search_items'       => 'Search Portfolio',
        'not_found'          => 'No portfolio items found',
        'not_found_in_trash' => 'No portfolio items found in trash',
    );

    $args = array(
        'labels'             => $labels,
        'public'             => true,
        'publicly_queryable' => true,
        'show_ui'            => true,
        'show_in_menu'       => true,
        'query_var'          => true,
        'rewrite'            => array('slug' => 'portfolio'),
        'capability_type'    => 'post',
        'has_archive'        => true,
        'hierarchical'       => false,
        'menu_position'      => 5,
        'menu_icon'          => 'dashicons-portfolio',
        'supports'           => array('title', 'editor', 'thumbnail', 'excerpt', 'custom-fields'),
        'show_in_rest'       => true, // Enables block editor
    );

    register_post_type('portfolio', $args);
}
add_action('init', 'create_portfolio_post_type');
Add this code, go to Settings → Permalinks, and click “Save Changes.” Your new WordPress custom post types will appear in the admin sidebar.
Adding Custom Taxonomies (Categories & Tags for Your CPT)
A post type without classification is incomplete. You can register custom taxonomies to group your WordPress custom post types. For example, add a “Portfolio Category” taxonomy:
function create_portfolio_taxonomy() {
    register_taxonomy(
        'portfolio_category',
        'portfolio',
        array(
            'labels' => array(
                'name'          => 'Portfolio Categories',
                'add_new_item'  => 'Add New Portfolio Category',
            ),
            'hierarchical' => true,  // Like categories (false = like tags)
            'public'       => true,
            'show_in_rest' => true,
            'rewrite'      => array('slug' => 'portfolio-category'),
        )
    );
}
add_action('init', 'create_portfolio_taxonomy');
Now you can organize portfolio items just like blog posts.
Displaying Custom Post Types on the Front End
Creating the content type is only half the battle. To display your WordPress custom post types, WordPress automatically looks for specific template files in your theme:
-
single-portfolio.php– Displays a single portfolio item. -
archive-portfolio.php– Lists all portfolio items. -
taxonomy-portfolio_category.php– Displays items from a specific category.
Copy your theme’s single.php to single-portfolio.php and customize the layout. For archives, copy archive.php to archive-portfolio.php and modify the loop.
Best Practices & Common Pitfalls
Before you deploy WordPress custom post types to a live site, follow these rules:
-
Never use underscores in post type slugs – Use hyphens instead (
custom_postbreaks URL rewriting;custom-postworks). -
Flush permalinks after registration – Simply visit Settings → Permalinks and click save.
-
Prefix your post type names – Use
mytheme_portfolioinstead ofportfolioto avoid conflicts with plugins. -
Do not modify registered post types directly – Use
register_post_type_argsfilter instead. -
Plan for the future – Changing a post type slug after content exists will break all old URLs.
Real-World Examples
-
E-commerce: “Products” with price and inventory fields (WooCommerce does this).
-
Directory: “Listings” with location, phone, and business hours.
-
Education: “Courses” with instructor, duration, and syllabus.
-
Events: “Events” with start date, end date, and venue.
Conclusion
WordPress custom post types transform WordPress from a blogging platform into a full-featured content management system. Whether you use a plugin or write code, the ability to create structured, separate content types is essential for professional WordPress development.
Start small. Create one custom post type for a portfolio or testimonials. Add custom fields using ACF or the native custom fields meta box. Then expand to taxonomies and custom templates. Once you master WordPress custom post types, you will never force square pegs into round holes again.