Dirga Raj Lama
Web Developer
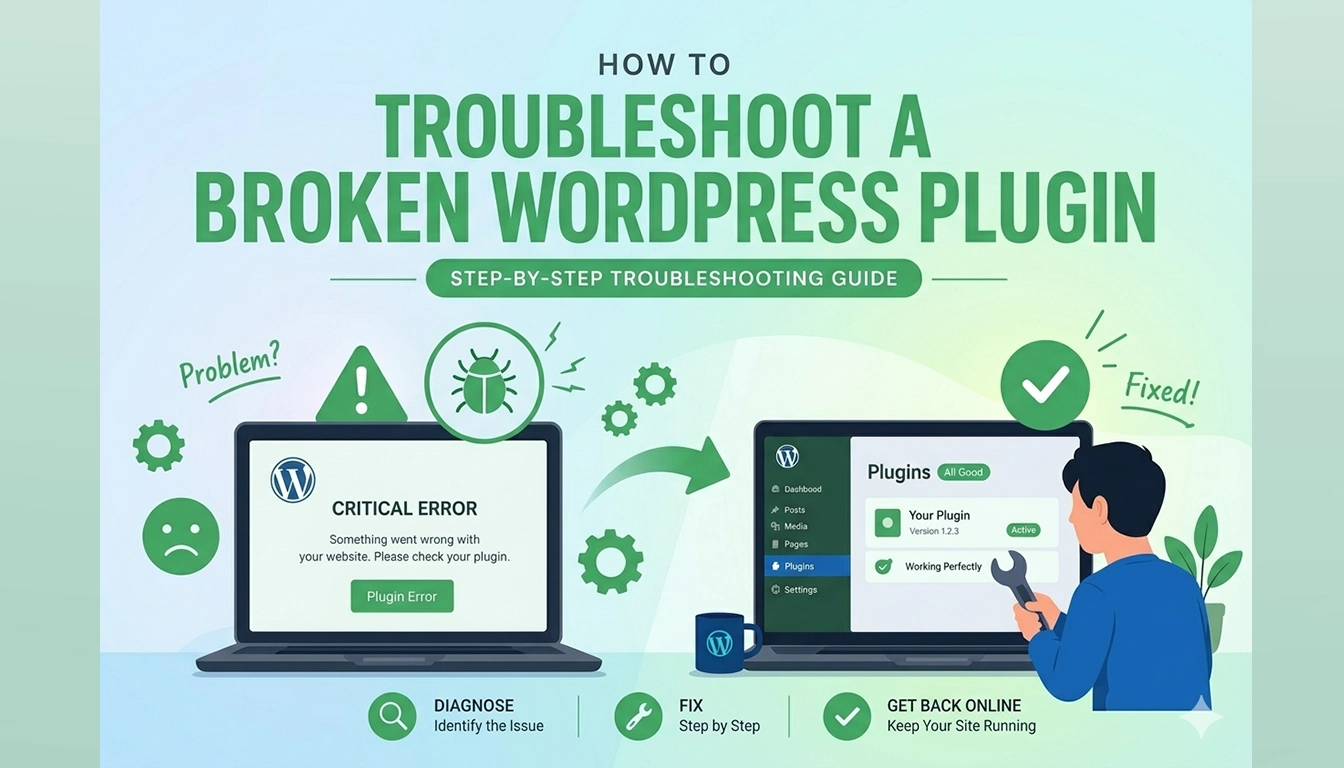
How to Troubleshoot a Broken WordPress Plugin: 7 Simple Steps (2026)
Few things are more jarring than navigating your website only to be met with a fatal error message, a “Red Screen of Death,” or a critical function that has simply stopped working. Learning how to troubleshoot a broken WordPress plugin is an essential technical skill for any site owner. While WordPress is incredibly robust, its flexibility relies on third-party code. When that code is out of date, poorly written, or conflicting with another tool, it crashes. This guide will walk you through the systematic, technical, yet accessible steps to diagnose and repair a faulty plugin without losing your data.
What Causes a WordPress Plugin to “Break”?
Before diving into the fixes, it is helpful to understand why plugins fail. The primary culprits in 2026 are:
- PHP Incompatibility: A newly updated plugin might require a newer version of PHP than your server provides.
- WordPress Core Conflict: Updates to WordPress itself often break old or neglected plugins.
- Code Conflicts: Two plugins attempt to hook into the same core function simultaneously.
- Memory Limits: A complex plugin might consume more server RAM (Memory) than your hosting plan allows.
Step 1: Confirm the Symptom
Start by verifying exactly what is broken. A “broken” plugin might mean:
- A Fatal Error: A generic error message (like “There has been a critical error on this website”) is displayed.
- The White Screen of Death (WSOD): A completely blank page loads on the frontend.
- Broken Functionality: A specific feature (like a contact form or gallery) doesn’t load.
- Backend vs. Frontend: Does the error only occur when you are logged in, or is it visible to everyone?
Step 2: Access Your Dashboard (If Possible)
The troubleshooting process is significantly easier if you have dashboard access.
- If you can log in: Proceed to Step 3.
- If you are locked out (Fatal Error/WSOD): Skip to Step 4, where we use FTP to gain access.
Step 3: Deactivate All Plugins (The “Process of Elimination”)
This is the standard diagnostic starting point. We disable everything to see if the core site itself is stable.
- Log in to your WordPress Dashboard.
- Navigate to Plugins > Installed Plugins.
- Click the checkbox above the plugin list to select all.
- From the Bulk Actions dropdown, select Deactivate and click Apply.
Now, reload your site. Is the error gone? If yes, you have confirmed that one of your plugins is broken. Proceed to Step 5 to isolate which one.
Step 4: Deactivate Plugins via FTP (If Locked Out)
If a broken plugin locks you out of the dashboard, you must deactivate it at the server level using an FTP client (like FileZilla) or your hosting cPanel File Manager.
- Connect to your server via FTP.
- Navigate to the
wp-contentfolder. - Rename the folder named
pluginstoplugins_backup.
When you reload your site, WordPress cannot find any active plugins and will revert them to a “Deactivated” state. You should now be able to log in to your dashboard. Remember: Immediately rename the folder back to plugins before attempting Step 5.
Step 5: Isolate the “Troublemaker”
Now that we are back in the dashboard and all plugins are deactivated, it is time to find the exact source of the problem.
- Go to Plugins > Installed Plugins.
- Reactivate the first plugin in your list.
- Check your site to see if the error returns.
- Repeat this process one by one until the error message or WSOD reappears.
The last plugin you reactivated before the site broke is your culprit.
Step 6: Test for a Theme Conflict
Sometimes, a plugin isn’t broken on its own; it is simply reacting badly to code in your active theme.
- Keep the culprit plugin active.
- Deactivate all other plugins.
- Temporarily Activate a default WordPress theme (like Twenty Twenty-Four).
If the site works with the culprit plugin and a default theme, the true incompatibility is in your main theme’s code.
Step 7: Final Resolution: Fix or Replace
Once you identify the broken plugin or conflict, you have three options to resolve the issue:
- Check for Updates: The developer might have already released a patch.
- Rollback (Reverse Update): If the plugin broke after you updated it, use a plugin like WP Rollback to return to the previous stable version.
- Contact Support: Share the exact error code with the plugin developer.
- Replace the Plugin: In 2026, there is usually an alternative plugin that provides the same functionality.
Summary Checklist for Troubleshooting Plugins
| Step | Action | Outcome |
| Prerequisite | Take a Full Backup | Ensure no data loss if diagnostics go wrong. |
| 3 | Deactivate All Plugins | Confirms the issue is plugin-related. |
| 4 | Use FTP (plugins_backup) | Regains dashboard access if site is fatal. |
| 5 | Reactivate One-by-One | Isolates the exact faulty plugin. |
| 6 | Switch to Default Theme | Rules out theme incompatibilities. |
Conclusion
While encountering a fatal error is alarming, understanding how to troubleshoot a broken WordPress plugin puts control back in your hands. Success depends on following a systematic process: gain access, perform a total deactivation, and isolate the culprit through the process of elimination. Don’t let a faulty plugin paralyze your site—diagnose, repair, or replace, and keep your WordPress site healthy and responsive.
Regularly auditing your plugins, limiting their total number, and choosing only reputable, well-maintained code will prevent these diagnostic exercises from becoming a daily routine.