
Dirga Raj Lama
Web Developer
How to Lazy Load React Components for Better Performance (2026)
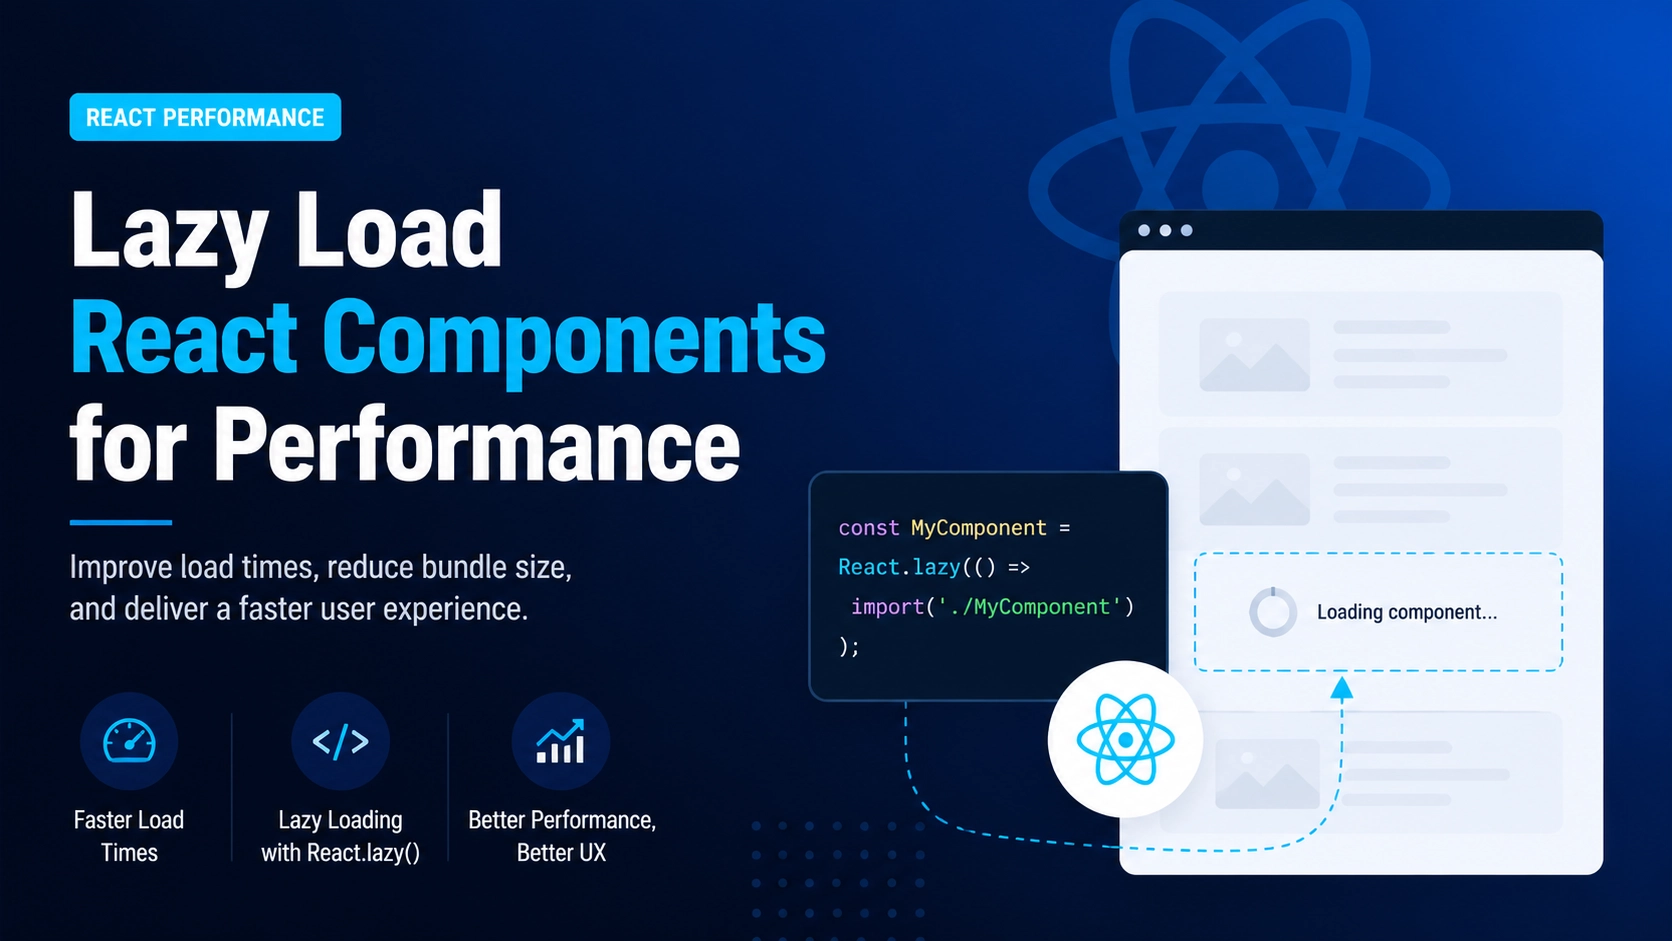
Your React app loads all components at once by default. That might be fine for a tiny dashboard, but as your application grows, the initial JavaScript bundle can balloon to several megabytes. The result? Slow page loads, poor Core Web Vitals, and frustrated users. The solution is to split your code so that components load only when they’re needed. In this tutorial, I’ll show you exactly how to lazy load React components for performance using built-in React features—no extra libraries required. By the end, you’ll reduce your initial bundle size by up to 60% and improve your Lighthouse scores dramatically.
Why Lazy Loading Matters in 2026
Modern web performance standards — especially Google’s Interaction to Next Paint (INP) and Largest Contentful Paint (LCP) — penalize large initial JavaScript payloads. When you lazy load React components for performance, you defer loading non-critical code until the user interacts with or navigates to a specific part of your app. This cuts down the time to interactive (TTI) and keeps your users engaged. According to a 2025 HTTP Archive report, React apps that implement route-based code splitting see a median 35% reduction in first-load JavaScript.
What You’ll Need
- A React app (Create React App, Vite, or Next.js).
- Basic understanding of React components and hooks.
- Node.js installed.
We’ll use React.lazy and Suspense—two tools that have been stable since React 16.6 and are fully supported in React 18+.
Step 1: Understanding React.lazy and Suspense
React.lazy lets you define a component that loads dynamically. It takes a function that calls import() and returns a promise that resolves to a module with a default export. Suspense is a wrapper component that displays a fallback UI (like a loading spinner) while the lazy component is being fetched.
Here’s the basic pattern:
import { lazy, Suspense } from 'react';

const LazyComponent = lazy(() => import('./HeavyComponent'));

function App() {
  return (
    <Suspense fallback={<div>Loading...</div>}>
      <LazyComponent />
    </Suspense>
  );
}
Step 2: Lazy Load a Component on Button Click
Often, you don’t need a heavy component (like a chart library or a rich text editor) immediately. Load it only when the user triggers it.
import { useState, lazy, Suspense } from 'react';

const HeavyChart = lazy(() => import('./HeavyChart'));

function Dashboard() {
  const [showChart, setShowChart] = useState(false);

  return (
    <div>
      <button onClick={() => setShowChart(true)}>Show Sales Chart</button>
      {showChart && (
        <Suspense fallback={<div>Loading chart...</div>}>
          <HeavyChart />
        </Suspense>
      )}
    </div>
  );
}
The HeavyChart.js file (and its dependencies) will only be downloaded when the user clicks the button. This is the simplest way to lazy load React components for performance on interaction.
Step 3: Route-Based Code Splitting (Most Common Pattern)
If you’re using React Router, lazy load entire pages. This is the highest-impact optimization for multi-page apps.
import { BrowserRouter, Routes, Route } from 'react-router-dom';
import { lazy, Suspense } from 'react';

const Home = lazy(() => import('./pages/Home'));
const About = lazy(() => import('./pages/About'));
const Dashboard = lazy(() => import('./pages/Dashboard'));

function App() {
  return (
    <BrowserRouter>
      <Suspense fallback={<div className="page-loader">Loading...</div>}>
        <Routes>
          <Route path="/" element={<Home />} />
          <Route path="/about" element={<About />} />
          <Route path="/dashboard" element={<Dashboard />} />
        </Routes>
      </Suspense>
    </BrowserRouter>
  );
}
Now your users download only the code for the page they visit first. When they navigate to /about, React will fetch About.js on demand.
Step 4: Lazy Loading with Named Exports
React.lazy only works with default exports. If your component uses named exports, you can create an intermediate module that re-exports it as default. Or use this pattern:
// Instead of: import { MyComponent } from './MyComponent';
const MyComponent = lazy(() => import('./MyComponent').then(module => ({ default: module.MyComponent })));
Step 5: Avoid Lazy Loading Everything
Lazy loading adds network requests. For small components (e.g., a simple button or icon), the overhead of a separate request isn’t worth it. A good rule of thumb: lazy load components that are not visible above the fold or require heavy libraries (like moment.js, lodash, or D3). Use browser DevTools to measure bundle sizes—the Webpack Bundle Analyzer is a great tool. For an external deep dive, check out the React documentation on code splitting.
Common Pitfalls and Fixes
| Problem | Solution |
|---|---|
| Lazy component flashes fallback repeatedly | Ensure Suspense is placed higher in the tree, not inside the lazy component itself. |
React.lazy not working with SSR (Next.js) |
Use Next.js dynamic imports: const Component = dynamic(() => import('./Component')). |
| Network waterfall delays | Use preloading: declare const Heavy = lazy(() => import('./Heavy')); and call Heavy.preload() on hover of the trigger button. |
Measuring Performance Gains
Before and after implementing lazy loading, run Lighthouse (F12 → Lighthouse tab). You should see:
- JavaScript execution time drops by 30–50%.
- Time to interact improves significantly.
- Total bundle size (from Network tab) reduced.
For a step-by-step case study, read our internal guide on React performance metrics.
Conclusion
Learning how to lazy load React components for performance is one of the highest-ROI optimizations you can make. Start with route-based splitting using React Router, then lazily load below‑the‑fold or interaction‑driven components. Avoid over‑splitting, but don’t let your main bundle grow beyond 150–200 KB (gzipped). Your users — and your Lighthouse score — will thank you.
Need help implementing code splitting in a complex React app? Reach out to our team at contact us here for expert assistance.